
Instructions for gluing TIBHAR rubbers with Connext Pro
Checklist
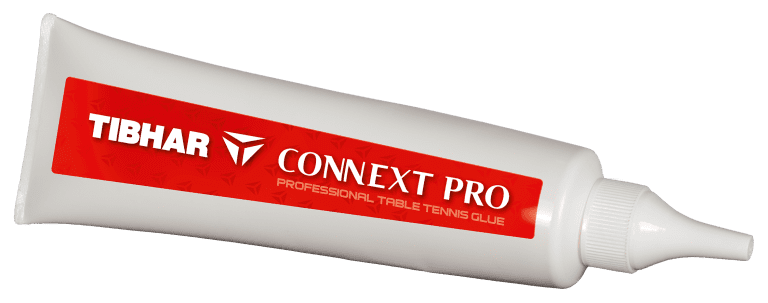
- 1x Connext Pro Glue
- 2x TIBHAR rubber of your choice
- 1x TIBHAR blade of your choice
- 1x TIBHAR rubber rolling pin
- 1x TIBHAR cutting knife
- 1x TIBHAR edge tape
Preparation
Before you begin, make sure your blade is clean – especially if you are replacing old rubbers. Remove the old rubbers by peeling them off diagonally starting from the handle. You can remove glue residues with a solvent such as acetone – be careful, as it is highly flammable. If necessary, lightly sand the blade to achieve a smooth surface. Also ensure that the sponge side of the new rubber is clean to guarantee optimal adhesion.
Preparing the surfaces
Thorough preparation is essential for a long-lasting bond. If you are replacing old rubbers, start at the handle and peel them off diagonally. Clean the blade thoroughly from old glue residues. For stubborn residues, a solvent such as acetone may help – always follow the safety precautions due to its flammability. If needed, lightly sand the blade, especially when glue residues remain. The sponge side of the new rubber should also be clean and free from dust to ensure good adhesion.
Tips and tricks
-
Ensure an even distribution of glue to avoid bumps or waves.
-
Do not stretch the rubber too much when positioning it to ensure a secure and precise fit.
-
Use a sharp cutting tool to trim the rubber cleanly and prevent damage to the blade.
-
If air bubbles appear, try to roll them out or carefully pierce them with a needle.
-
For official competition use, only apply ITTF-approved glue to comply with regulations.
Gluing process: Standard method
The standard method for gluing table tennis rubbers involves several careful steps:
1. Apply glue to the rubber
Place the rubber with the sponge side facing up on a clean surface. Use a sponge or brush to apply a thin, even layer of glue. Start with the edges and corners to ensure full coverage. For better adhesion, it can be helpful to apply two thin layers of glue – let the first layer dry completely before applying the second.
2. Apply glue to the blade
Also apply a thin, even layer of glue to the blade. Take care not to use too much glue – especially with water-based glue – as a thick layer can soften the top veneer of the blade.
3. Let the glue dry
Wait until the glue becomes completely transparent and dry. Drying time depends on the glue used but usually takes about 10–20 minutes. The glue should feel dry and must no longer be sticky. When in doubt, follow the instructions of the glue manufacturer.
4. Place the rubber on the blade
Begin attaching the rubber from the lower edge near the handle. Place the rubber carefully on the blade without stretching it. Ensure precise alignment so that no corrections are necessary, which could damage the rubber.
5. Smooth out the rubber
Use a roller or a similar tool (for example, a smooth bottle) to press the rubber firmly onto the blade. Start in the middle and work outwards to avoid air bubbles and achieve an even bond.
6. Trim the excess rubber
Turn the blade so that the rubber faces down and trim off the excess along the edge. Use sharp scissors or a sharp knife to ensure clean cuts and avoid damaging the blade. Alternatively, the rubber can be pre-cut before gluing by using the blade as a template. A slight overlap of about 0.5 mm is acceptable, as the regulations allow a tolerance of ±2 mm.
7. Glue the second side
Repeat the entire process for the other side of the blade to ensure balanced symmetry.
Optional: Apply edge tape
Finally, you can attach edge tape around the blade. This protects the rubber from peeling or damage at the edges and increases the durability of the racket.